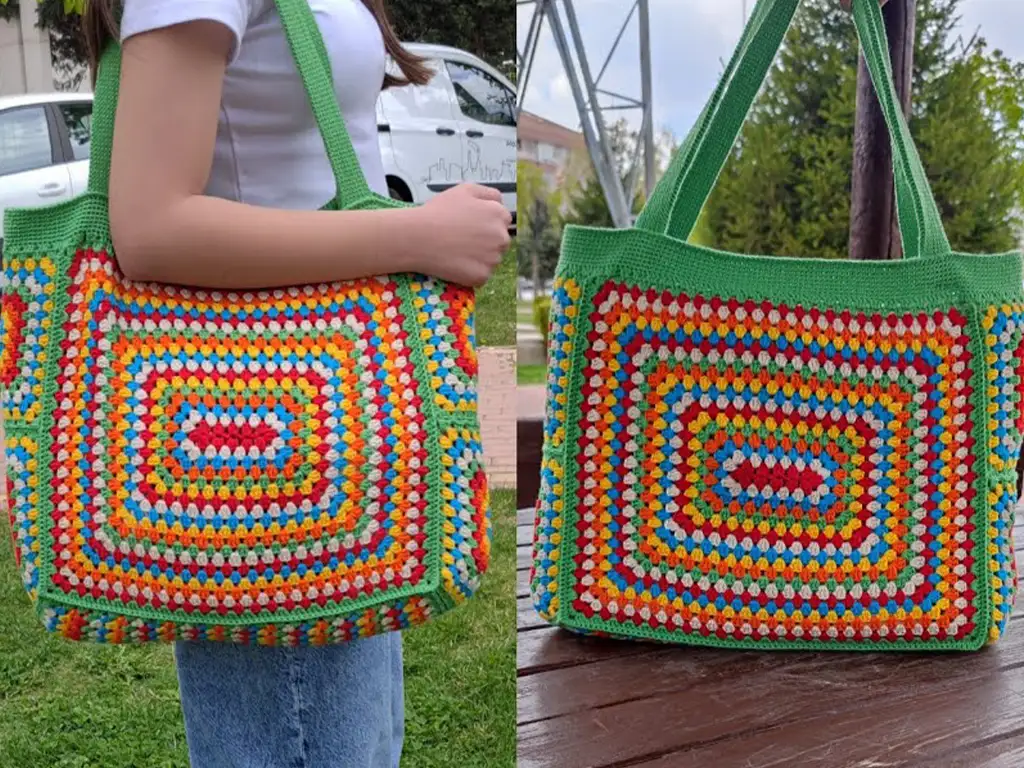
Are you ready to dive into the satisfying world of crochet and create your very own handmade tote bag? This versatile project is not only beginner friendly but also endlessly customizable. With a few basic stitches and the right guidance, you’ll be sporting a unique, eco conscious accessory in no time!
This particular design focuses on a simple rectangle construction, ideal for mastering the fundamentals of crochet. The finished tote is spacious, stylish, and perfect for everything from beach days to grocery runs. Let’s get started!
Crochet Bag Essentials: Materials and Tools You’ll Need
Before we start this exciting crochet journey, let’s gather our supplies:
- Yarn: I recommend Alize Cotton Gold, which is a blend of cotton and acrylic. You can choose any yarn you like, just consider the weight and fiber content for the look and feel you want.
- Crochet Hook: You’ll need a 2.75mm crochet hook.
- Scissors: For cutting yarn.
- Stitch Markers: Optional, but helpful for marking specific points in your pattern.
- Yarn Needle: For weaving in loose ends.
Mastering the Crochet Rectangle: Your Tote Bag Foundation
The foundation of our tote bag is a simple crochet rectangle. If you’re new to crochet, don’t worry! Here are some basic terms to get you started:
- Chain Stitch (ch): The starting point for most crochet projects.
- Double Crochet (dc): A versatile stitch creating a dense fabric.
- Single Crochet (sc): Used for finishing edges and creating a neat look.
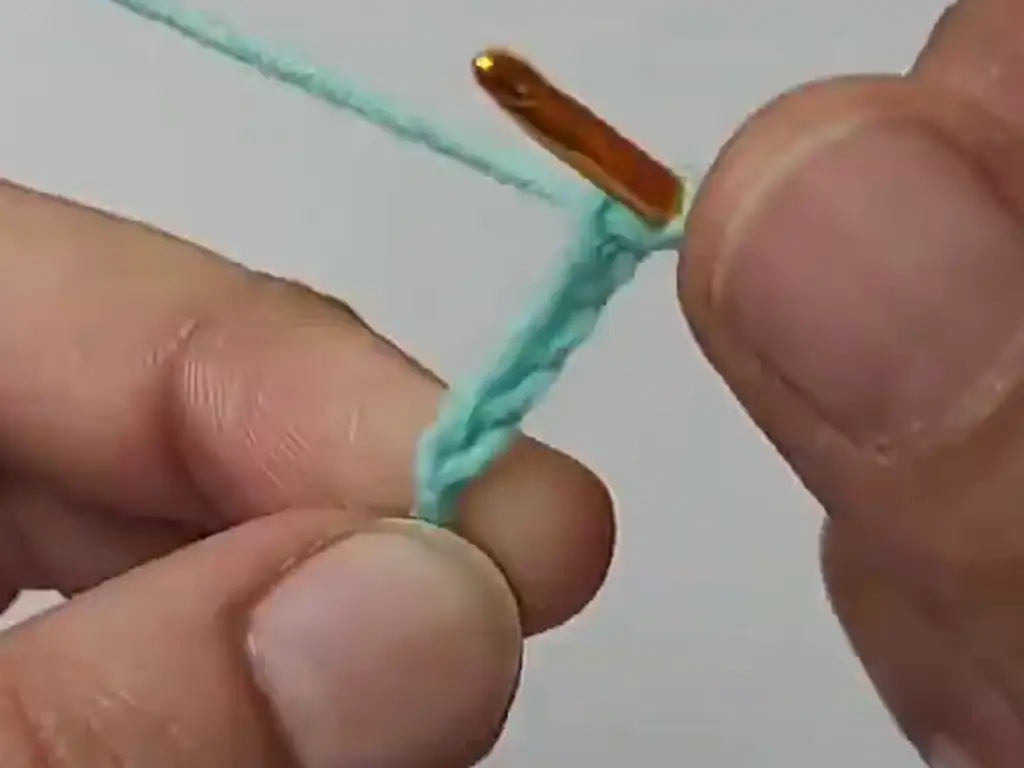
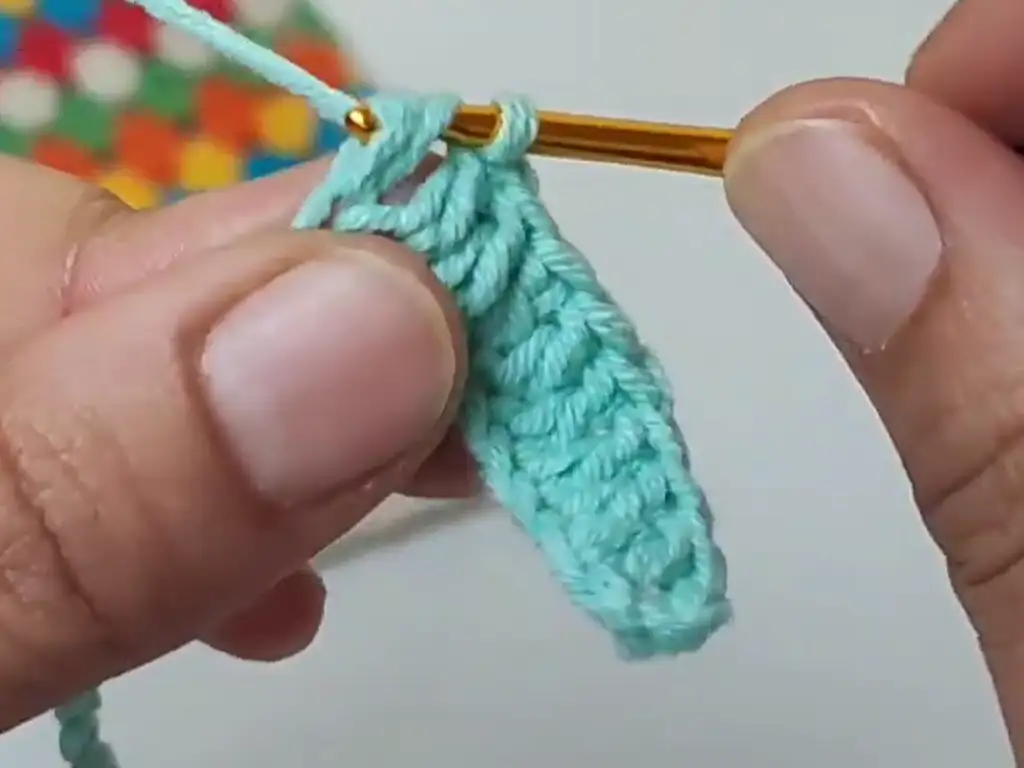
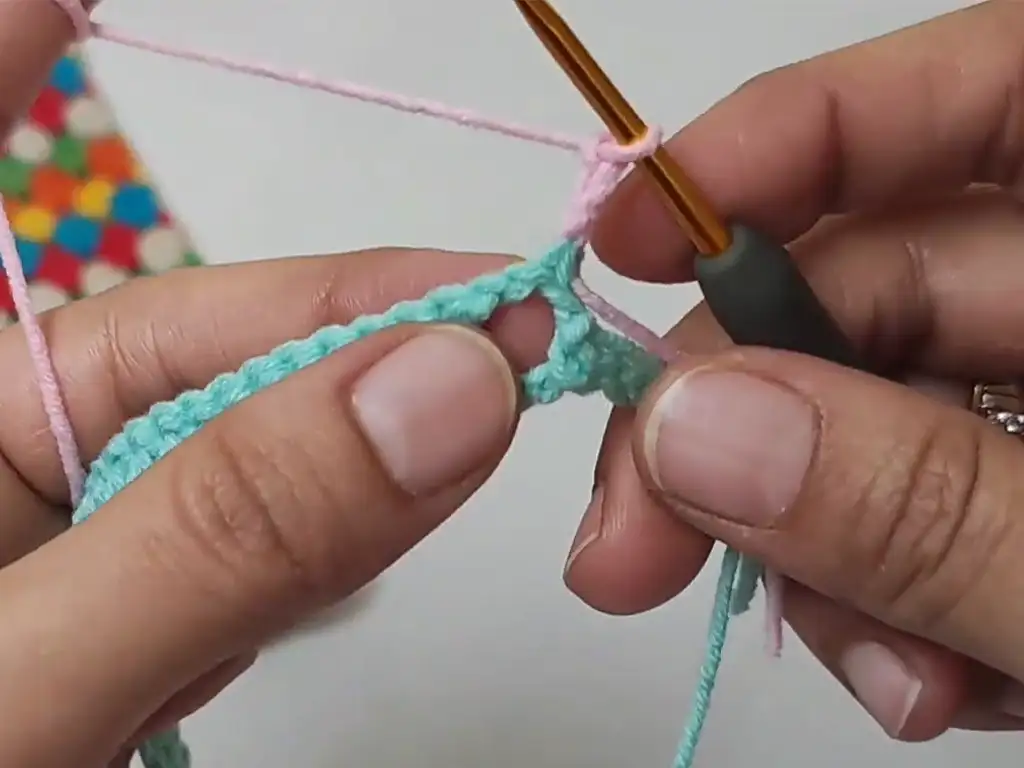
Step by Step Pattern
Refer to the detailed video tutorial by @TubaCrochet ( [https://www.youtube.com/watch?v=xPWbEBsdj9k] ) for visual guidance. Here’s the written pattern:
Base:
- Start: Chain 34 (or a chosen multiple of 3 for desired width).
- Row 1: Double crochet in each chain stitch across (34 dc). Turn.
- Shaping Rows: Refer to video tutorial for row by row instructions on increasing and decreasing stitches to create a curved base shape. The general idea is to increase at specific points near the beginning and end of rows to create a wider center section and then decrease at designated points to create a curved shape towards the ends.
- Continue working rows following the video instructions for shaping until the base reaches its desired depth.
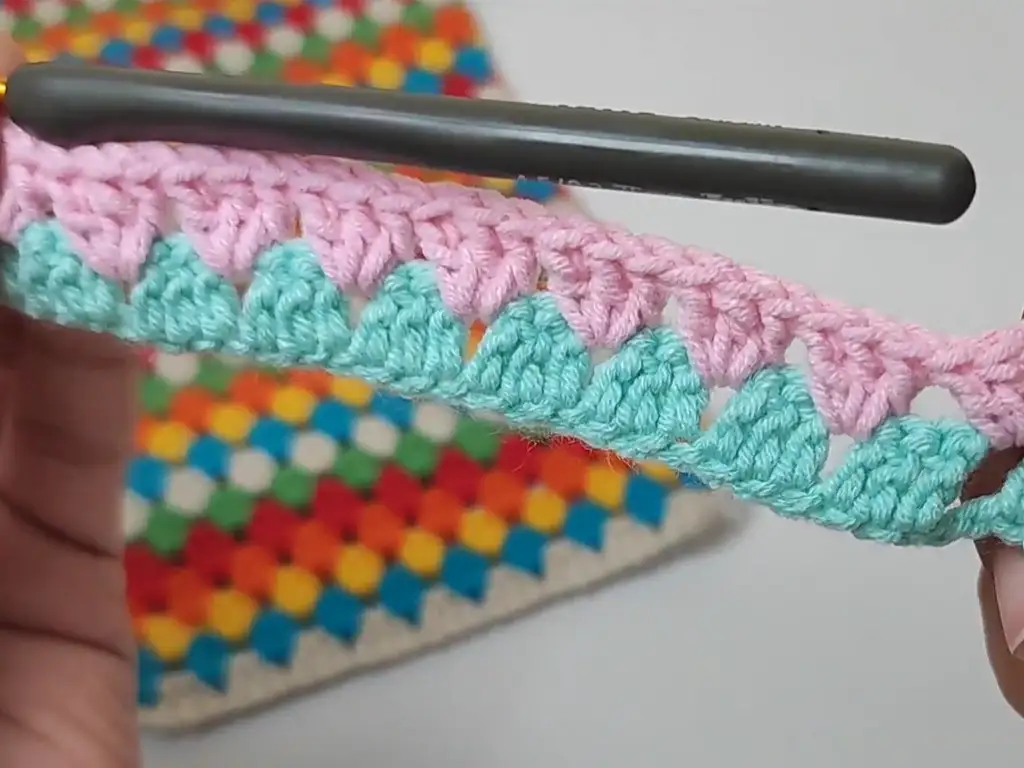
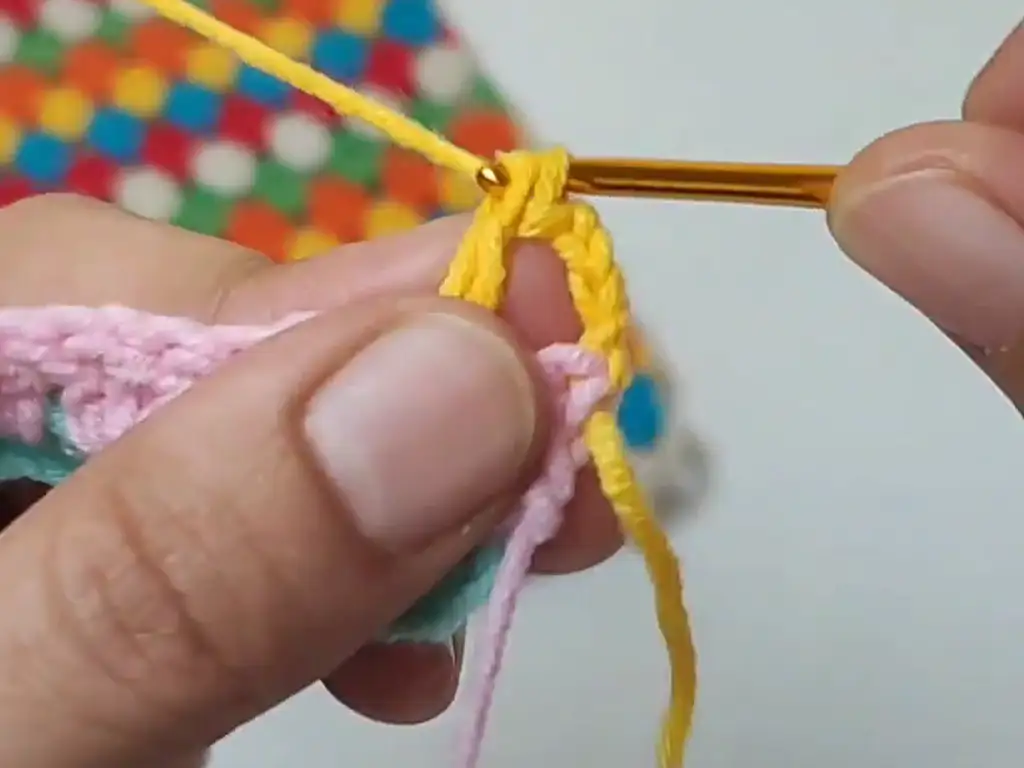
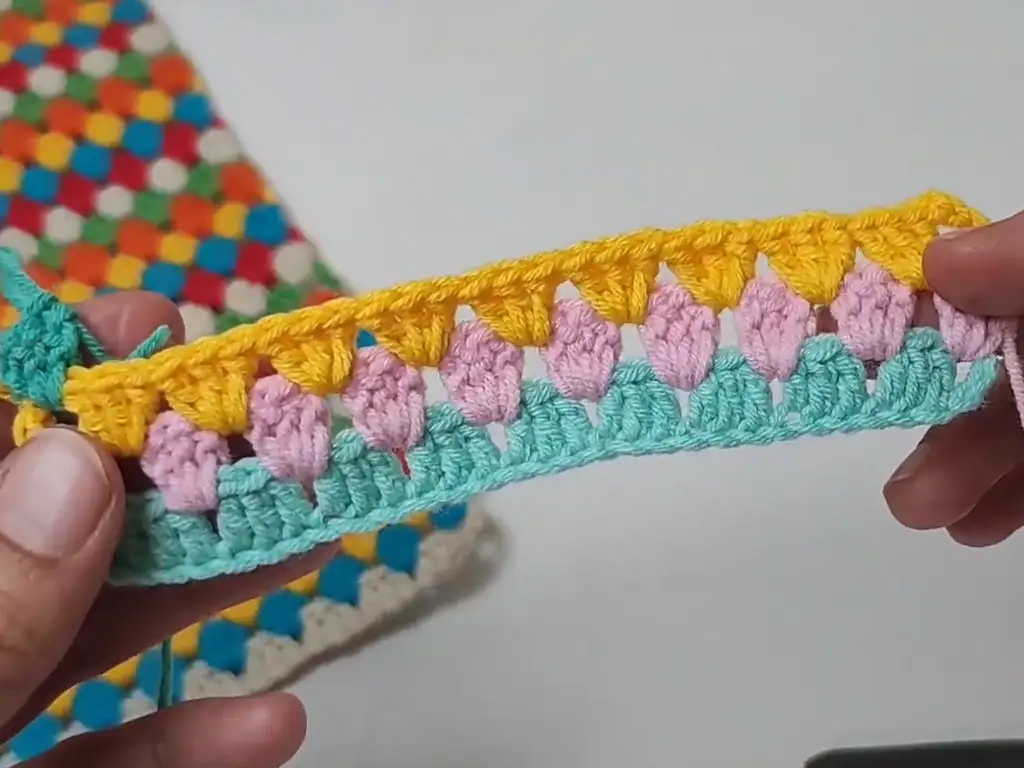
Rectangular Panels:
- Front & Back Panels: Once the base is complete, chain a number of stitches equal to the width of the base (excluding the curved sides).
- Work even rows in double crochet or your preferred stitch pattern for the desired height of the tote bag.
- Repeat step 1 and 2 to create the back panel.
Side Squares:
- Chain a desired number of stitches to create a square (adjust for size preference).
- Work even rows in double crochet or your preferred stitch pattern until the square reaches its desired height.
- Repeat steps 1 and 2 to create three more squares.
Assembly:
- Join the squares: Using appropriate joining techniques (refer to video tutorial), carefully crochet the squares together along the edges to form the sides of the tote bag.
- Attach rectangles: Securely crochet the front and back rectangles to the top edges of the assembled sides, ensuring proper alignment.
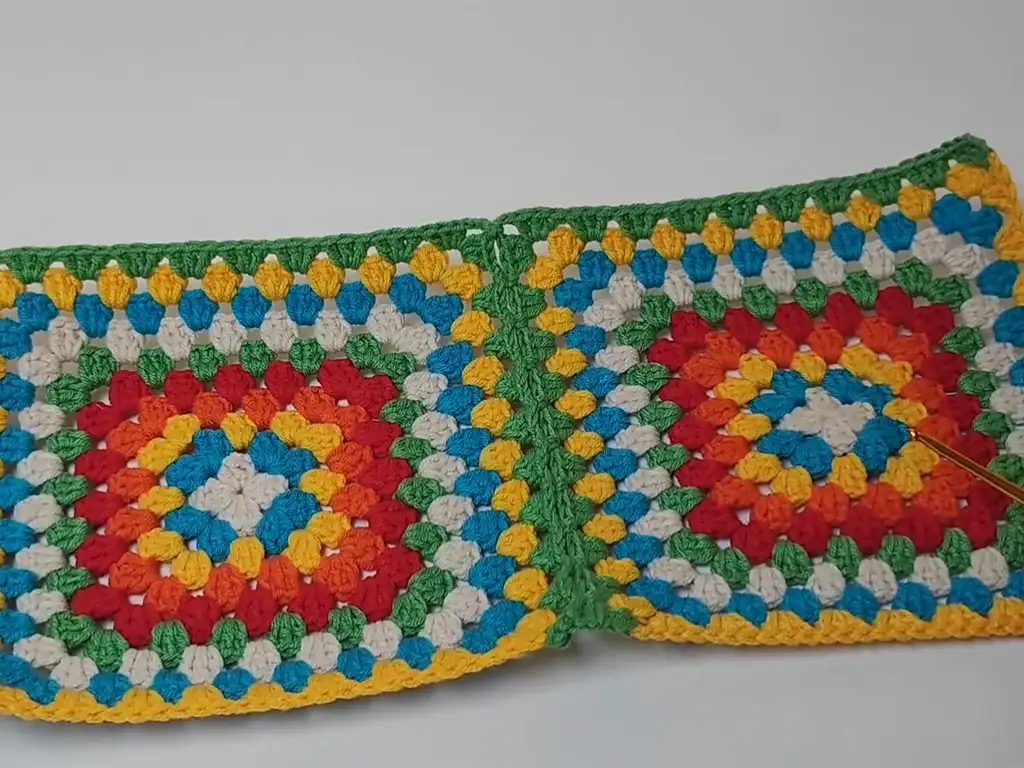

Finishing Touches:
- Straps: Create long chains for simple straps or experiment with braiding techniques.
- Attach straps: Securely fasten the straps to the top corners of the tote bag.
- Weave in all loose ends with a yarn needle.
Joining Techniques: Build Your Bag with Squares
Now, let’s assemble your masterpiece! Here’s where those squares come in:
- Carefully join the squares around the edges of your base.
- Securely attach the front and back rectangles to the sides.
Customizing Your Crochet Tote Bag: Color & Design Choices
This is where you let your creativity shine!
- Color Play: Choose vibrant hues, mix and match, or keep it classic. Stripes, blocks, and creative color changes add personality.
- Embellishments: Tassels, pom-poms, or beads can take your tote to the next level.

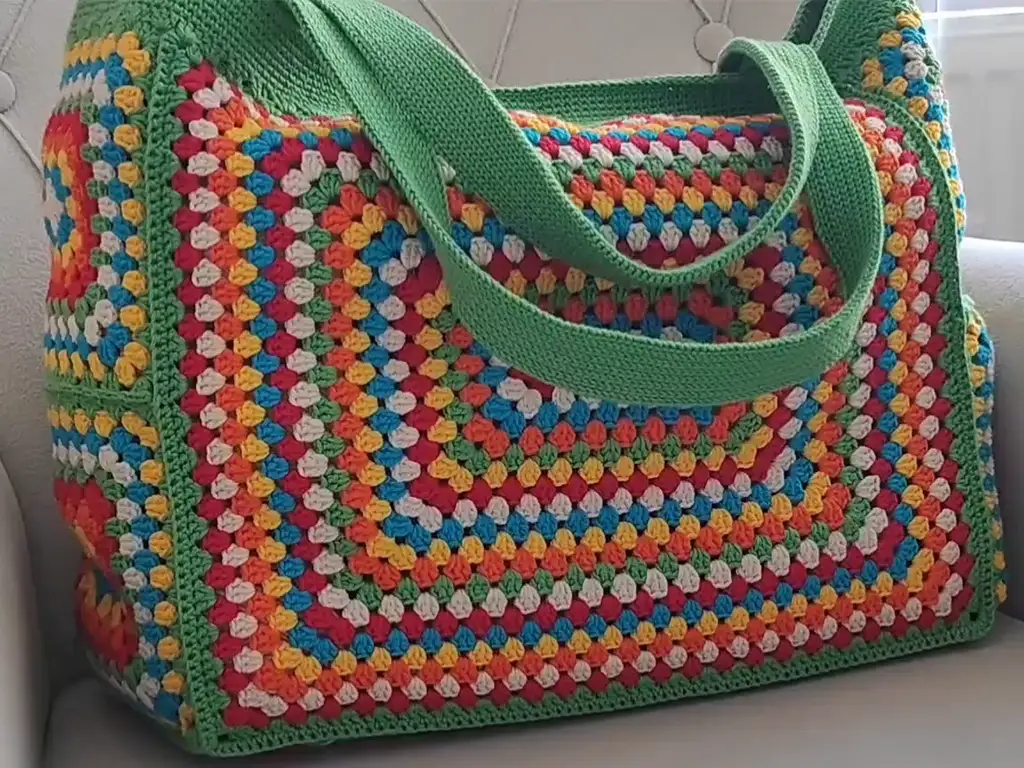
Finishing Touches: Straps and Styling Your Crochet Bag
The final step is the handle:
- Crochet long chains for a simple strap or experiment with braiding techniques.
- Securely attach your straps to the top of your tote.
Other Crochet Projects You’ll Love
Inspired to keep crocheting? Here are a few more ideas:
Conclusion
Congratulations on creating your very own crochet tote bag! Wear it with pride, knowing it’s a testament to your creativity and new skills. Don’t forget to share your creation on Instagram (@tubacrochet_) or TikTok (tiktok.com/@tubacrochet) and join our crochet community! I hope you enjoy bringing this project to life!

