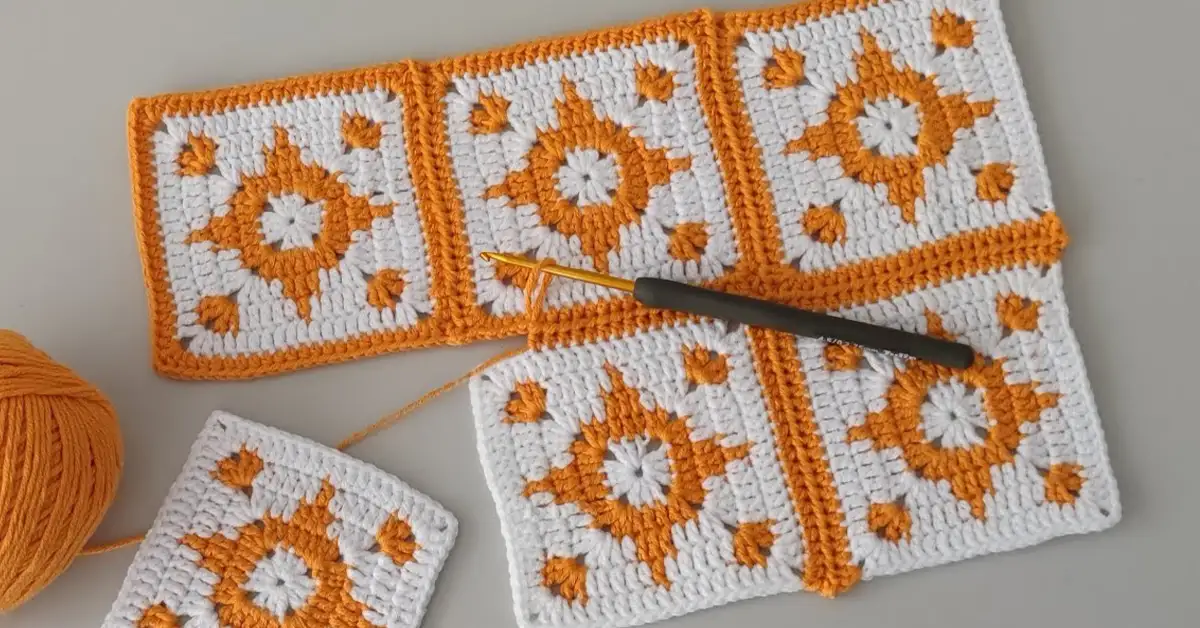
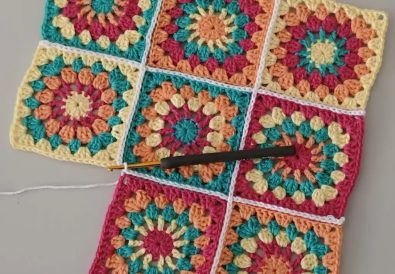
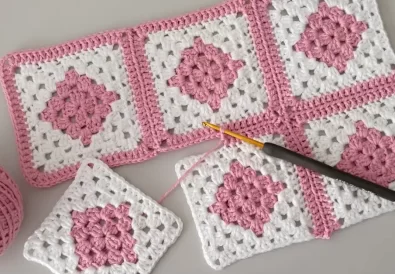
Welcome to the wonderful world of crochet seamless join! If you’ve ever struggled with unsightly gaps between your crocheted squares, you’re in the right place. This DIY tutorial will guide you through the process of creating a smooth, professional finish for your granny square projects and beyond. Whether you’re a seasoned crocheter or a complete beginner, this technique is surprisingly simple to master.
This crochet seamless join method, specifically the half double crochet (HDC) join, is a game-changer for creating blankets, afghans, and more. It results in a beautifully flat fabric, perfect for showcasing your favorite crochet square joining methods. The seamless join is particularly well-suited for granny squares, but it can be adapted to a variety of other square motifs. So, grab your yarn and hook, and let’s get started!
Mastering the Crochet Seamless Join: A Beginner-Friendly Guide
The Magic of the Crochet Seamless Join
Firstly, let’s talk about why the crochet seamless join is so magical. Indeed, it eliminates those pesky gaps that can detract from the beauty of your crochet projects. Specifically, this technique creates a smooth, almost invisible connection between your squares, resulting in a polished and professional finish. Ultimately, this elevates your handmade creations and gives them a truly impressive look.
Why Choose a Crochet Seamless Join?
Of course, there are several reasons why you might choose this technique. To begin with, it’s incredibly durable. Furthermore, it’s aesthetically pleasing, giving your projects a refined touch. Instead of struggling with bulky seams, you’ll have a flat and even surface, perfect for cuddling up with or showcasing your handiwork. Notably, this is especially important for blankets and afghans, where comfort and visual appeal are key.
Essential Tools for a Successful Crochet Seamless Join
Before we dive into the step-by-step guide, let’s gather our materials. You’ll need your favorite yarn (more on that later), a crochet hook (appropriate size for your yarn), and scissors. Additionally, a tapestry needle is helpful for weaving in ends. To start, choose a yarn you enjoy working with, as this will make the process more enjoyable.
Beyond the Basics: Exploring Crochet Seamless Joining Methods
Step-by-Step Guide
Now that you know why the seamless join is so beneficial, let’s learn how to crochet a seamless join! To begin, we’ll focus on joining two squares. Afterward, we’ll discuss joining multiple squares and creating a seamless edge. Let’s get started!


Joining Two Squares:
This section will provide detailed instructions, including stitch counts, for joining two squares.
Continuing the Seamless Join:
Once you’ve mastered joining two squares, you can easily expand this technique to join multiple squares, creating a larger fabric.
Finishing with a Seamless Edge:
To complete your project, you’ll need to create a seamless edge. This involves working along the final open edge, using the same joining technique.


Creating a Seamless Finish: Joining Granny Squares
Specifically, let’s apply the crochet seamless join to granny squares. These beloved squares are a classic choice for blankets and afghans, and the seamless join elevates them to a new level of sophistication. The seamless join granny squares technique will be explained in detail, making it easy for even beginners to follow along.
Beyond Granny Squares: Crochet Seamless Join Applications
While the crochet seamless join granny square technique is popular, it’s not limited to just granny squares. In fact, this versatile method can be used with a wide variety of square motifs, allowing you to create unique and beautiful designs. For example, you can use it for crochet motif joining and square motif joining in general.
Unlocking the Secrets of a Perfect Crochet Seamless Join
Tips for a Perfect Crochet Seamless Join
To illustrate some helpful tips, here are a few key pointers: maintain consistent tension, work carefully in the corners, and don’t be afraid to practice! Most importantly, enjoy the process!
Troubleshooting Common Crochet Seamless Join Problems
Despite this being a relatively easy technique, you might encounter some challenges. In contrast to traditional joining methods, the seamless join requires a bit more precision. This section will address common issues and provide solutions.

Crochet Joining Techniques for All Your Projects
To sum it up, the crochet seamless join is a fantastic technique for creating beautiful and professional-looking crochet projects. Ultimately, it allows you to take your skills to the next level and create truly impressive pieces. Undoubtedly, with a little practice, you’ll be amazed at the results!
Materials:
- Yarn: This project uses orange cotton yarn, but you can choose any color you like. The thickness and material of the yarn will affect the finished look and feel of your project.
- Crochet Hook: Use a 2.75mm hook or a size appropriate for your chosen yarn.
- Scissors: For cutting the yarn.
- Tapestry Needle: For weaving in ends (optional).
The Written Pattern:
Connecting the First Square:
Start by choosing any corner of your first square. Chain two (ch 2) and make a half double crochet (hdc) in the same corner space. Work hdc across the first side of the square, two hdc in the corner, ch 2, two hdc in the corner again. Continue working hdc across the second side of the square, ending with two hdc in the corner. Finally, chain 2 and hdc into the corner of the second square.
Turning and Joining Upwards:
Turn your work so the first square is facing you. Slip stitch (sl st) to the top of the first hdc in the corner of the first square. Hdc to the corner of the second square. Slip stitch to the top of the second hdc in the corner of the first square. Now, work hdc across the first side of the first square, but this time, join the hdc stitches into the opposite loops of the hdc stitches made in the previous row.
The L-Shape Single Crochet:
Continue joining the squares in this way until you reach the end of the row. Then, chain one (ch 1) and single crochet (sc) into the chain space in the corner of the first square. Chain one again, and make two hdc in the corner of the second square. Now, make an “L-shape” single crochet, which is a sc in the same loop as the previous hdc, followed by another sc in the next loop of the chain space.
Joining Subsequent Rows:
Turn your work to start joining the next row. Make 2 hdc, ch 2, 2 hdc in the corner of the first square in the new row. Work hdc across the first side of the square, joining the hdc stitches into the opposite loops of the hdc stitches from the previous row.
Junction Points:
When you reach a point where three squares meet, work two hdc in the corner, chain one, single crochet into the chain space at the junction of the two squares, chain one, and two hdc in the corner of the next square.
Turning Corners:
When you turn a corner, work two hdc in the corner, ch 2, and hdc in the corner of the square you are joining. Continue joining the squares in the previous row in the same way, working upwards.
Junction Points with Three Squares:
At these points, work hdc to the corner of the square, sl st to the top of the first hdc in the corner of the first square in the previous row, hdc to the corner, sl st to the top of the second hdc, and again to the top of the second hdc. Chain 1 and make two hdc to the corner.
Closing the Last Row:
After joining the final row, close the open edge by chaining 1, sc into the chain space, ch 1, two hdc in the corner, and continue working L-shape single crochets until the end.
Finish: Finally, work two hdc in the corner, ch 2, and sl st to the top of the first chain. Cut your yarn and fasten off.
Tricks of the Trade:
- Consistent Tension: This is key for a truly seamless join.
- Practice Makes Perfect: Don’t be discouraged if your first attempt isn’t perfect. Keep practicing, and you’ll soon master the technique.
Special thanks to Tuba Crochet (@TubaCrochet on YouTube) for sharing this fantastic tutorial! For a visual demonstration of the seamless join, be sure to check out her video: https://www.youtube.com/watch?v=BP1haIfIRP0.
Share Your Projects!
We’d love to see your beautiful creations! Share your finished projects on Instagram “https://www.instagram.com/tubacrochet_”, TikTok “tiktok.com/@tubacrochet” and Facebook “https://www.facebook.com/tubacrochet/”. And be sure to leave a comment below and let us know how your seamless joins are coming along! We’re excited to see what you create!
Other Crochet Projects You’ll Love:
- Baktus Shawl for Beginners
- Granny Square Patterns
- Triangle Scarf Crochet Tutorials
In conclusion, the crochet seamless join is a valuable technique that can elevate your crochet projects to new heights. In short, it’s a simple yet effective way to create a professional and polished finish. To summarize, whether you’re a seasoned crocheter or just starting out, we encourage you to give this technique a try. You’ll be amazed at the difference it makes! Happy crocheting!


