Hey there, craft lovers! Are you looking for a super cute and quick beginner crochet project? Want to make something totally adorable? Then you’ve landed in the right place! We’re diving into the delightful world of crochet chicken keychain! This easy crochet design is perfect for beginners. It’s also a fantastic way to whip up handmade gifts. Seriously, who wouldn’t love a tiny crochet chicken friend? This step by step crochet keychain tutorial will guide you. Let’s get started on this fun crochet pattern!

Why Make a Crochet Chicken Keychain?
These little guys are seriously addictive to make. And also, they’re just plain cute! Let’s explore why this crochet chicken keychain is your next must-make.
Fun Crochet Projects for Beginners: Why Keychains Are a Great Start
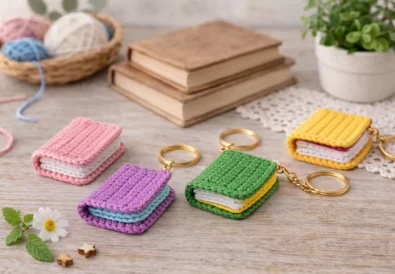
Keychains are ideal beginner crochet projects. Firstly, they’re small. Small projects mean quick finishes. This is super satisfying for new crocheters. Secondly, keychains use minimal yarn. You can use up scraps! Thirdly, they are great for practicing basic stitches. You’ll master single crochet, double crochet, and more. Additionally, keychains are incredibly versatile. They clip onto bags, keys, and backpacks. Finally, making a crochet keychain is just plain fun! This easy crochet project is a win-win. It’s perfect for beginners. You’ll create something cute and useful.
How a Crochet Chicken Keychain Makes the Perfect Handmade Gift
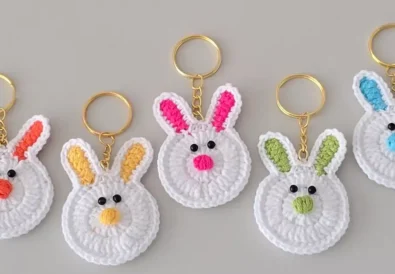
Handmade gifts show you care. A crochet chicken keychain is a thoughtful present. It’s unique and personal. Besides, it’s practical! Everyone uses keys, right? Moreover, these keychains are adorable. They bring a smile to anyone’s face. In addition, they are customizable. Change colors to match someone’s style. For instance, use their favorite colors. Equally important, they’re great for all ages. Kids, teens, and adults will love them. Furthermore, they are perfect for small tokens of appreciation. Think teacher gifts or party favors. In fact, a crochet chicken keychain is a gift from the heart. It’s a crochet gift idea that’s sure to please. These make wonderful crochet gifts.
Amigurumi Crochet vs. Traditional Crochet: What’s the Difference?
You might hear terms like amigurumi crochet. What is it exactly? And how does it relate to this chicken crochet pattern? Traditional crochet often creates fabric. Think blankets or scarves. Amigurumi crochet, however, is different. It focuses on creating small, stuffed figures. Usually, these are animals or characters. Despite both using crochet techniques, their goals differ. Amigurumi aims for 3D shapes. Traditional crochet often creates flat or draped items. Although our crochet chicken keychain isn’t strictly amigurumi chicken, it shares similarities. It’s small, shaped, and has features. Nevertheless, it’s a simpler form. It’s a great entry point into amigurumi crochet. This chicken crochet design is a fun blend. It’s easy crochet with amigurumi charm. It’s a fantastic amigurumi pattern for beginners to try. You’ll get a taste of Amigurumi Crochet techniques.
Materials Needed for Your Crochet Chicken Keychain
Ready to gather your supplies? Let’s see what you’ll need for this easy crochet project. Having everything ready makes it even smoother.

Choosing the Right Yarn and Hook for an Easy Crochet Project
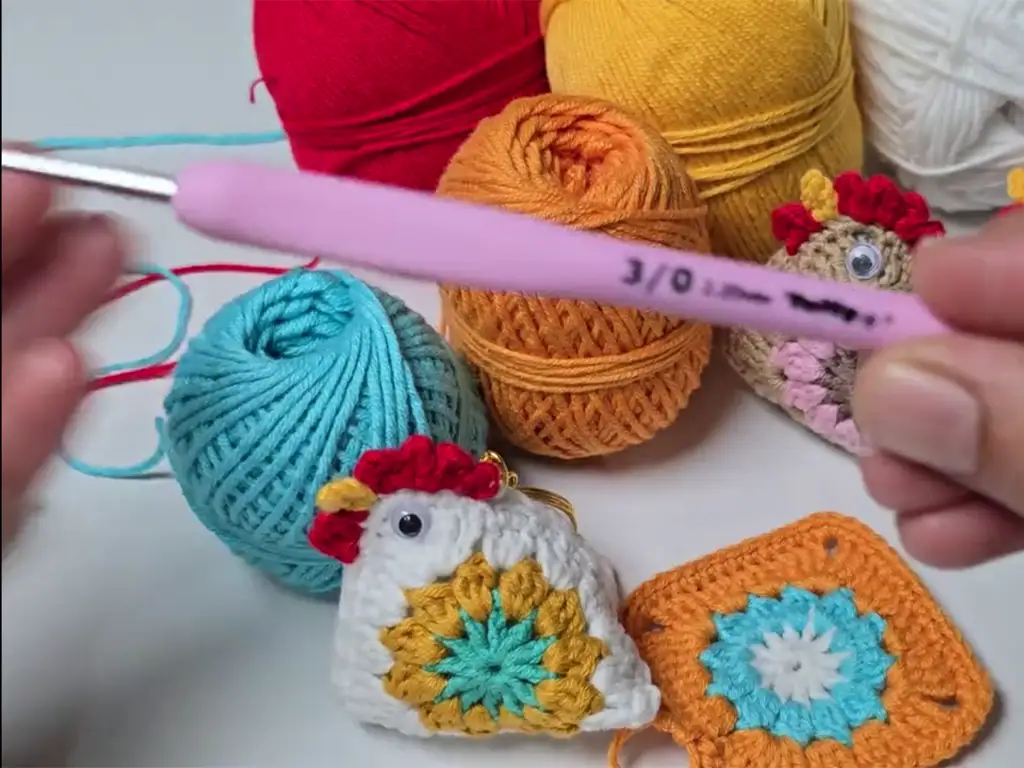
For this crochet chicken keychain, we’ll use cotton yarn. Specifically, Himalaya Himagurimi cotton yarn is recommended. It’s soft, durable, and comes in great colors. You’ll need four colors: white (Color A), light brown (Color B), dark brown (Color C), red, and yellow. A 2.20 mm (US B/1) crochet hook works best. This size creates tight stitches. Tight stitches are important for amigurumi crochet. Your finished chicken will be firm and hold its shape. Consequently, the stuffing will be secure.
Essential Tools for Your Crochet Keychain Pattern
Besides yarn and a hook, you’ll need a few more tools. Scissors are essential for cutting yarn. A yarn needle (or tapestry needle) helps weave in yarn ends. Moreover, you’ll need fiberfill stuffing. This gives your chicken its plump shape. A keychain clip turns it into a keychain. Furthermore, you’ll need something for the eyes. You can use wiggle eyes and glue. Alternatively, small black beads work beautifully. If using beads, you’ll also need black yarn or thread for sewing. Finally, stitch markers can be helpful. Especially if you are new to crochet. They mark the beginning of rounds. Having these essential tools makes your crochet keychain pattern experience much smoother.
Optional Additions: Customizing Your Amigurumi Chicken
Want to make your crochet chicken extra special? There are many ways to customize it! For example, play with colors. Use bright, bold colors or soft pastels. For instance, make a rainbow chicken! Also, consider adding embroidery. Embroider cute little cheeks. Moreover, you can change the size. Add or reduce rows to the square motif. This makes your chicken bigger or smaller. In addition, you could add accessories. A tiny crocheted hat? A little scarf? Furthermore, experiment with different yarns. Try using variegated yarn for a unique look. However, stick to similar yarn weights. Otherwise, the size will change drastically. In fact, customization is part of the fun! Make your amigurumi chicken truly unique. This customizable crochet chicken keychain design is ready for your personal touch.
Step-by-Step Crochet Chicken Keychain Tutorial
Let’s get to the fun part – crocheting! Follow this step by step crochet chicken keychain tutorial. It’s designed to be super easy for beginners.


How to Crochet a Square Motif for the Chicken’s Body
We will crochet two identical squares. These form the chicken’s body.
Round 1 (Color 1):
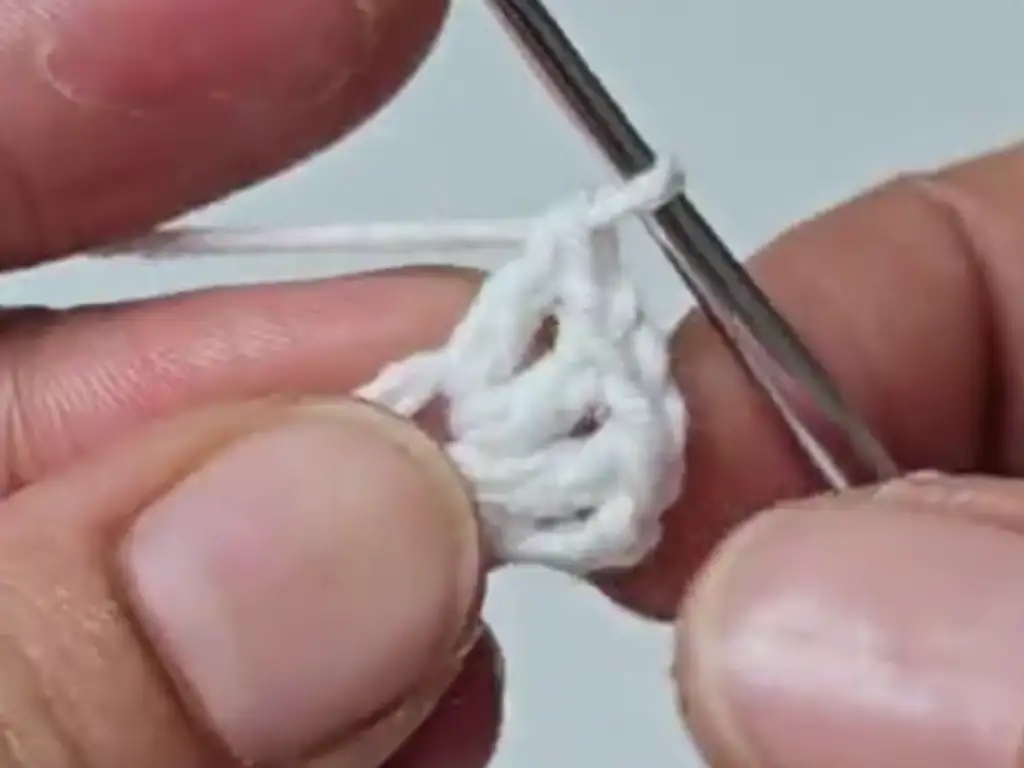
- Start with a magic ring. (Make a loop, insert hook, yarn over, pull up a loop, chain 1).
- Chain 4. This counts as first double crochet and chain 1.
- Work 1 double crochet into the magic ring.
- Chain 1.
- Repeat steps 3-4 ten more times. You’ll have 12 double crochets, with chain 1 between.
- Slip stitch in the top of the first chain of chain 4 to join.
Round 1 complete: 12 double crochet, 12 chain-1 spaces.
Round 2 (Color 2):
- Chain 1. Cut Color 1 yarn.
- Join Color 2 with a slip stitch in any chain-1 space.
- Chain 3.
- In the same chain-1 space, work 2 half double crochet.
- Pull yarn through all three loops on hook – cluster made.
- Chain 2.
- Work a cluster in next chain-1 space. (3 half double crochet together).
- Chain 2.
- Repeat steps 7-8 around. You’ll have 12 clusters.
- Chain 2 after last cluster.
- Slip stitch to top of first cluster to join.
Round 2 complete: 12 clusters, 12 chain-2 spaces.
3 (Color 3):
- Chain 1. Cut Color 2 yarn.
- Join Color 3 with a slip stitch in any chain-2 space.
- Chain 4. Counts as first triple crochet and chain 1.
- In the same chain-2 space, work 2 triple crochet.
- Chain 2.
- In the same chain-2 space, work 3 triple crochet – corner made.
- Skip next chain-2 space.
- In next chain-2 space, work 3 double crochet.
- In next chain-2 space, work another 3 double crochet. – side made.
- In next chain-2 space, make corner: (3 triple crochet, chain 2, 3 triple crochet).
- Repeat steps 7-10 two more times.
- After last corner, skip last chain-2 space.
- Slip stitch to top of first chain of chain 4 to join.
Round 3 complete: 4 corners, 3 groups of 3 double crochet per side.
Round 4 (Color 3):
- Chain 1.
- Work 1 single crochet in the same stitch.
- Work 1 single crochet in each stitch to corner chain-2 space. (9 single crochet per side).
- In corner chain-2 space, work 3 single crochet.
- Repeat steps 3-4 around.
- Slip stitch to first single crochet to join.
Round 4 complete: Single crochet all around, 3 single crochet in each corner.
Fasten Off:
- First square: Chain 1, cut yarn, weave in ends.
- Second square: Chain 1, cut yarn, leave long tail for sewing.
Make two squares exactly the same. This crochet square motif chicken keychain is taking shape! This is a great crochet square motif chicken step by step guide.
Shaping the Chicken: Assembling Your Crochet Square Motif
Now, let’s turn these squares into a chicken! We’ll sew them together.
- Place squares wrong sides together. Edges aligned.
- Thread long tail onto yarn needle.
- Sew around edges, leaving a small opening for stuffing. Whip stitch or mattress stitch works well.
- Start at any corner. Sew along one side, then the next, and the third.
- Sew halfway along the fourth side. Stop, leaving a 2-3 inch gap.
- Stuff chicken firmly with fiberfill.
- Sew opening closed. Secure seam well.
- Weave in sewing tail inside chicken to hide it. Cut excess yarn.
You’re transforming your crochet square motif into a chicken! This is how to crochet a chicken keychain from squares.
Adding Character: Beak, Comb, and Eyes for Your Crochet Chicken
Time to add the cute chicken details! The comb, beak, and eyes bring it to life.
Comb (Red Yarn):
- Join red yarn at top of second double crochet of any corner.
- Chain 2.
- In same stitch, work 1 double crochet.
- Chain 2.
- Slip stitch in same stitch. – First comb point done.
- Slip stitch in next single crochet stitch.
- Chain 2.
- In same stitch, work 1 double crochet.
- Chain 2.
- Slip stitch in same stitch. – Second comb point done.
- Slip stitch in next single crochet stitch.
- Repeat steps 7-11 two more times. Four comb points total.
- Chain 1. Cut red yarn, weave in ends.
Beak (Yellow Yarn):
- Join yellow yarn in single crochet stitch after last red slip stitch.
- Chain 2.
- In same stitch, work 1 double crochet.
- Chain 1.
- Slip stitch in two front loops only of double crochet – beak point.
- Chain 2.
- Slip stitch back in same stitch where yellow yarn joined.
- Chain 1. Cut yellow yarn, weave in ends.
Wattle (Red Yarn):
- Join red yarn in single crochet stitch after yellow slip stitch.
- Chain 2.
- In next single crochet stitch, work 2 double crochet.
- Chain 2.
- Slip stitch in next single crochet stitch.
- Chain 1. Cut red yarn, weave in ends.
Eyes (Black Yarn or Beads):
- Wiggle Eyes: Glue on wiggle eyes above beak.
- Beads/Yarn: Sew on small black beads or make yarn eyes. Space evenly above beak.
Your crochet chicken is really looking like a chicken now! This crochet chicken tutorial is almost complete.
Finishing Touches: Attaching the Keychain and Weaving in Ends
Almost done! Just a few finishing touches.
- Weave in all yarn ends on back of chicken. Use yarn needle to tuck ends under stitches. Snip off excess.
- Attach keychain clip to top center point of chicken. Slip clip under a few stitches to secure.
Congratulations! Your crochet chicken keychain is finished! You’ve made a unique crochet keychain design! This handmade chicken keychain for bags or keys is ready to go.
Tips for Making the Best Crochet Animal Keychain
Let’s look at some tips to make your crochet animal keychain even better. These tips will help you avoid common mistakes.
Avoid These Common Beginner Crochet Mistakes
Beginner crochet can have a few common pitfalls. Firstly, tension issues. Keep your tension even. Not too tight, not too loose. Secondly, counting errors. Count stitches each round. Especially as a beginner. Thirdly, not weaving in ends properly. Weave in ends securely. This prevents unraveling. However, don’t stress too much about mistakes. Everyone makes them! Instead, learn from them. Despite mistakes, keep practicing. Nevertheless, pay attention to these tips. They will improve your easy crochet projects. Avoiding these mistakes will make your crochet keychain for beginners experience smoother.
How to Adjust the Size of Your Crochet Chicken Keychain
Want a bigger or smaller chicken? It’s easy to adjust the size! To make it bigger, add more rounds to the square motif. For example, repeat round 4 multiple times. Each extra round increases the size. Conversely, to make it smaller, remove rounds. Reduce the number of rounds in the square motif pattern. Also, yarn weight affects size. Thicker yarn makes a bigger chicken. Thinner yarn makes a smaller chicken. In addition, hook size also plays a role. A larger hook makes a looser, bigger piece. A smaller hook makes a tighter, smaller piece. Therefore, experiment with yarn and hook sizes. Find what works best for your desired size. This customizable crochet chicken keychain design lets you choose the perfect size.
Best Techniques for Stuffing and Sewing Your Crochet Chicken
Proper stuffing and sewing are crucial. Good stuffing gives your chicken shape. Even stuffing prevents lumps. Use small amounts of fiberfill at a time. Push stuffing into corners first. Then fill the center. Check for evenness as you go. Also, don’t overstuff. Overstuffing distorts the shape. It can also stress the seams. For sewing, use a whip stitch or mattress stitch. These create neat, invisible seams. Sew edges evenly. Match stitch for stitch. This creates a professional finish. Therefore, take your time stuffing and sewing. These steps make a big difference in the final look. Mastering these techniques elevates your crochet chicken.

Free Crochet Chicken Patterns and Gift Ideas
Love this crochet chicken? Want more free crochet patterns and crochet gift ideas? Let’s explore some options!
Where to Find More Free Crochet Patterns for Beginners
The internet is full of free crochet patterns! Websites like Ravelry, LoveCrafts, and Crochet.com offer tons of free patterns. Also, many crochet blogs provide free patterns. Search for “free crochet pattern” or “beginner crochet patterns“. For instance, Pinterest is a great visual search engine. Type in “crochet keychain pattern free chicken“. Furthermore, YouTube channels often share free patterns in video tutorials. Look for “crochet chicken tutorial” or “easy crochet projects“. However, always check pattern instructions carefully. Ensure they are beginner-friendly. Nevertheless, with a little searching, you’ll find endless free crochet patterns to enjoy!
Cute and Easy Crochet Gifts You Can Make in a Day
Besides crochet chicken keychains, many easy crochet gifts can be made quickly. For example, crochet coasters are fast and practical. Also, crochet bookmarks are lovely and simple. Moreover, crochet dishcloths are useful and beginner-friendly. In addition, crochet headbands or ear warmers are quick and cozy. Furthermore, crochet scrubbies are great for the kitchen or bath. Indeed, easy crochet projects are perfect for last-minute gifts. They are thoughtful and handmade. These crochet gift ideas are sure to inspire you. You can make many crochet gifts in just a day!
How to Turn This Crochet Chicken Pattern into a Fun DIY Set
Want to make this crochet chicken pattern even more special? Turn it into a DIY crochet set! For instance, include all the materials in a cute bag. Yarn, hook, stuffing, and eyes. Also, print out the free crochet chicken keychain pattern. Tie it all together with a ribbon. Moreover, add a little handwritten note. Encourage the recipient to learn crochet. In addition, you could include a beginner crochet book. Or a link to online crochet for beginners resources. Furthermore, this makes a wonderful gift for crafty friends. Or anyone wanting to learn a new hobby. This DIY crochet set is thoughtful and inspiring. It’s a fantastic way to share the joy of crochet. This handmade crochet gift idea is both creative and generous.
Conclusion:
In conclusion, this quick and easy crochet chicken keychain tutorial is perfect for beginners. It’s a fun crochet project. It’s also a wonderful way to create handmade gifts. You’ll master basic stitches and make something adorable. As you can see, crochet chicken keychains are versatile and customizable. Undoubtedly, they bring joy to both maker and receiver. So grab your hook and yarn. Start crocheting your own little chicken today!
Other Crochet Projects You’ll Love:
If you enjoyed this crochet chicken keychain, check out these other fun easy crochet projects:
Happy crocheting, friends! Don’t forget to watch the video tutorial by @CrochetCraftsmann (https://youtu.be/GRk_9fRXW84) for even more visual guidance! Share your finished crochet chicken keychains with us on Instagram (https://www.instagram.com/tubacrochet_), TikTok (tiktok.com/@tubacrochet), and Facebook (https://www.facebook.com/tubacrochet/)! We’d love to see your creations! Leave a comment below and tell us what you think! And finally, don’t forget to download your free PDF pattern here: https://crochetstrends.com/wp-content/uploads/2025/03/Crochet-Chicken-Keychain-Pattern.pdf. Happy hooking!