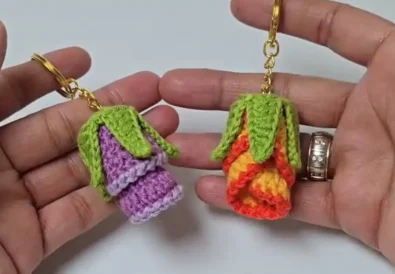
Creating your own crochet bag keychain is a fun and rewarding project, especially for beginners! This adorable mini bag is both practical and stylish, making it a perfect handmade gift idea. In this guide, you’ll learn everything step-by-step — from choosing your yarn to stitching the final charm.
Materials You’ll Need for This Crochet Bag Keychain
To crochet this mini bag keychain, here’s what you’ll need:
- Yarn: 4-ply 100% cotton yarn in any color you like
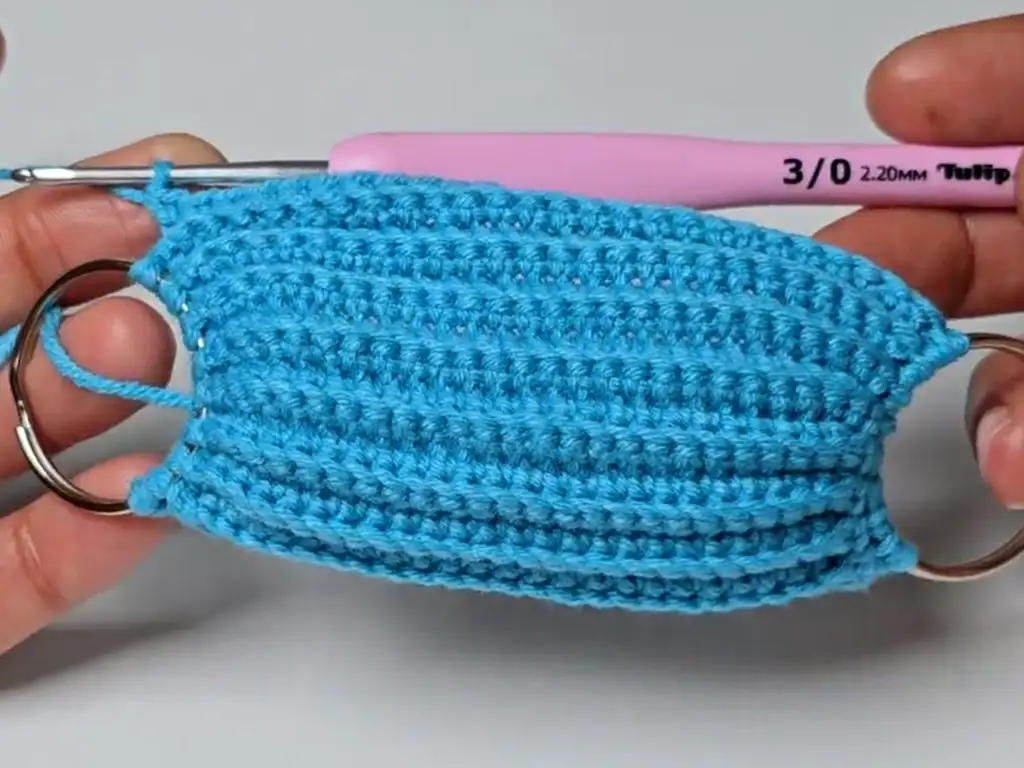
- Hook: 2.20 mm crochet hook
- Keychain clips: 3 clips — 2 for handles, 1 for attachment
- Stuffing: Soft fiberfill
- Buttons or embellishments: Optional for decoration
- Tapestry needle and scissors
Tip: Choose contrasting colors for a more playful look, or go minimalist with a solid pastel!
Choosing the Right Yarn and Hook Size
We used soft cotton yarn for this project, which gives the keychain a clean and neat texture. A 2.20 mm crochet hook helps maintain a tight stitch, which is important for shaping the small bag structure.
Crochet Stitches Used in the Bag Keychain Pattern
This project uses only a few beginner-friendly stitches:
- Chain (ch)
- Slip stitch (sl st)
- Single crochet (sc)
- Back loop single crochet (blo sc)
If you’re new to any of these, don’t worry! We’ll walk you through them step-by-step in the pattern section below.
Also check out our Easy Crochet Rose Coaster Pattern — another quick and beautiful project you’ll love!
Step-by-Step Crochet Bag Keychain Pattern
Follow this beginner-friendly pattern to create your own crochet bag keychain. It’s small, stylish, and works up quickly — perfect for gifts or market prep!
Step 1: Preparing the Keychain Clips
- Remove the chain links from 2 of the 3 keychain clips.
- We’ll use these for the handles later.
- The third clip will be used to attach the finished bag to your keys or bag.
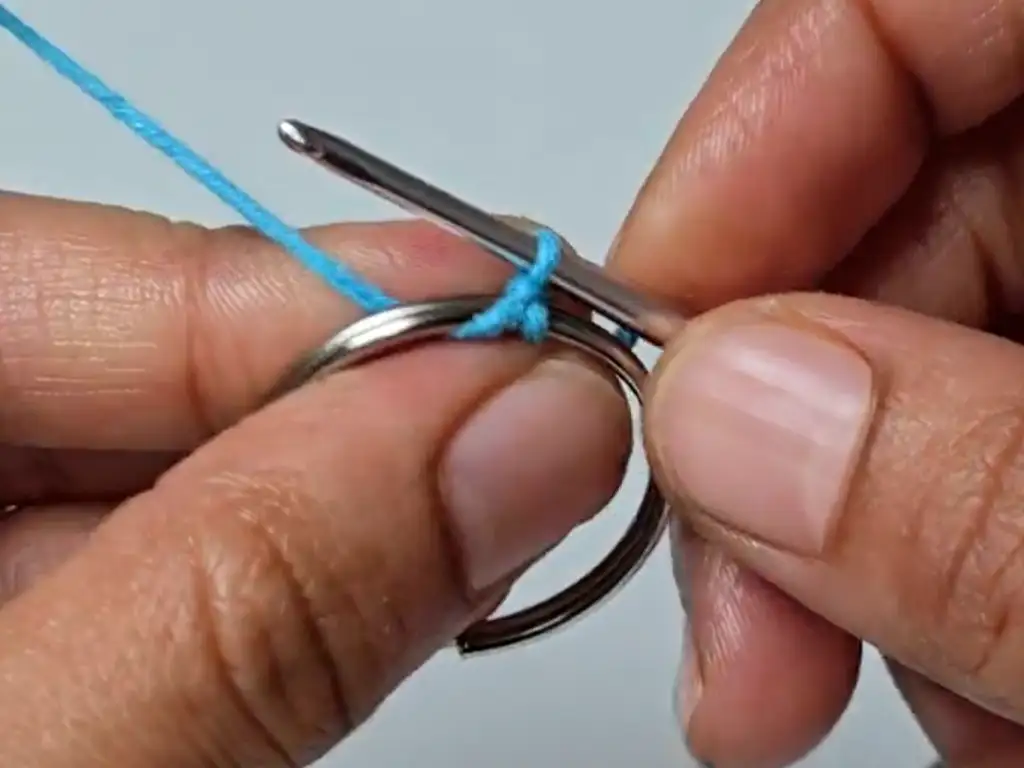
Step 2: Crochet the Chain Base of the Bag Keychain
- Make a slip knot and chain 25.
- This chain will determine the height of your bag.
- Want a taller bag? Just add more chains!
- Now insert your hook through the ring of one clip and make a slip stitch to secure the chain.
3: Work the First Row of the Crochet Bag Keychain
- Turn the ring and begin working 25 single crochets (sc) into the top loop of each chain stitch.
- Avoid working into the slip stitch from the ring.
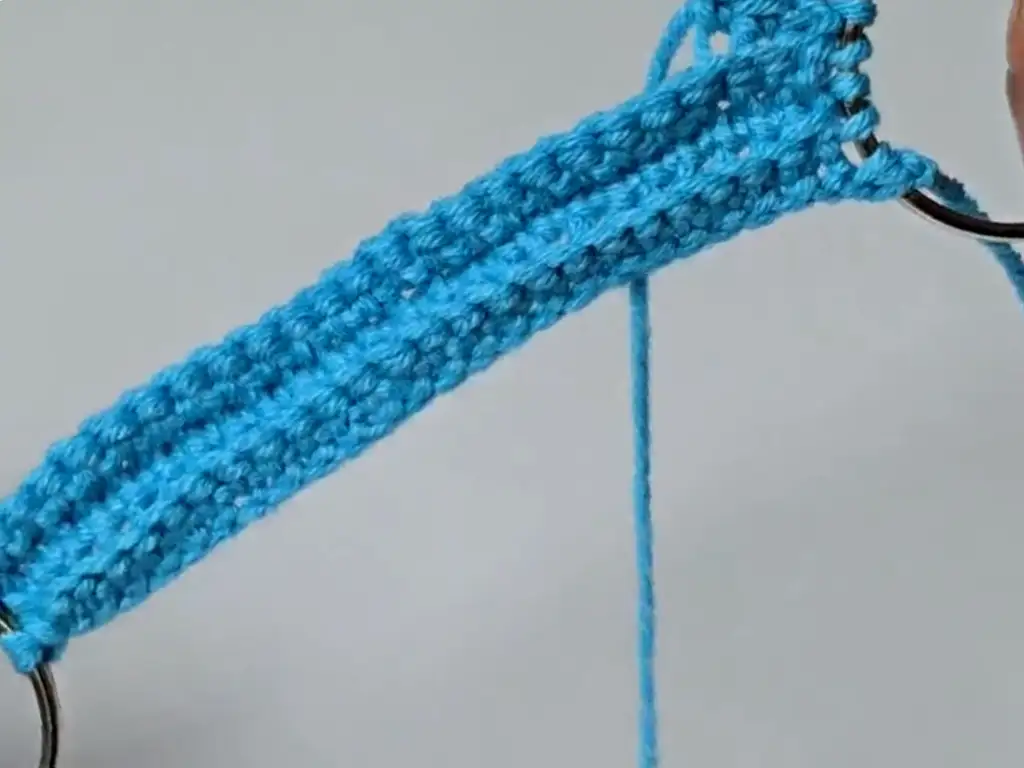
Step 4: Building the Rows with Back Loop Single Crochet
- At the end of each row:
- Make a slip stitch into the keychain ring,
- Then turn your work and the ring.
- Work 25 single crochets into the back loops only (blo).
- Repeat this process for each new row.
Repeat until you have 17 rows total for a standard size mini bag.
Want more accessory ideas? Try the Crochet Hat Keychain — another beginner project with charm!
Step 5: Finish the Base of Your Crochet Keychain
- After completing the final row, insert your hook into the ring and make one last slip stitch.
- Chain 1, then cut the yarn — leave a tail for sewing.
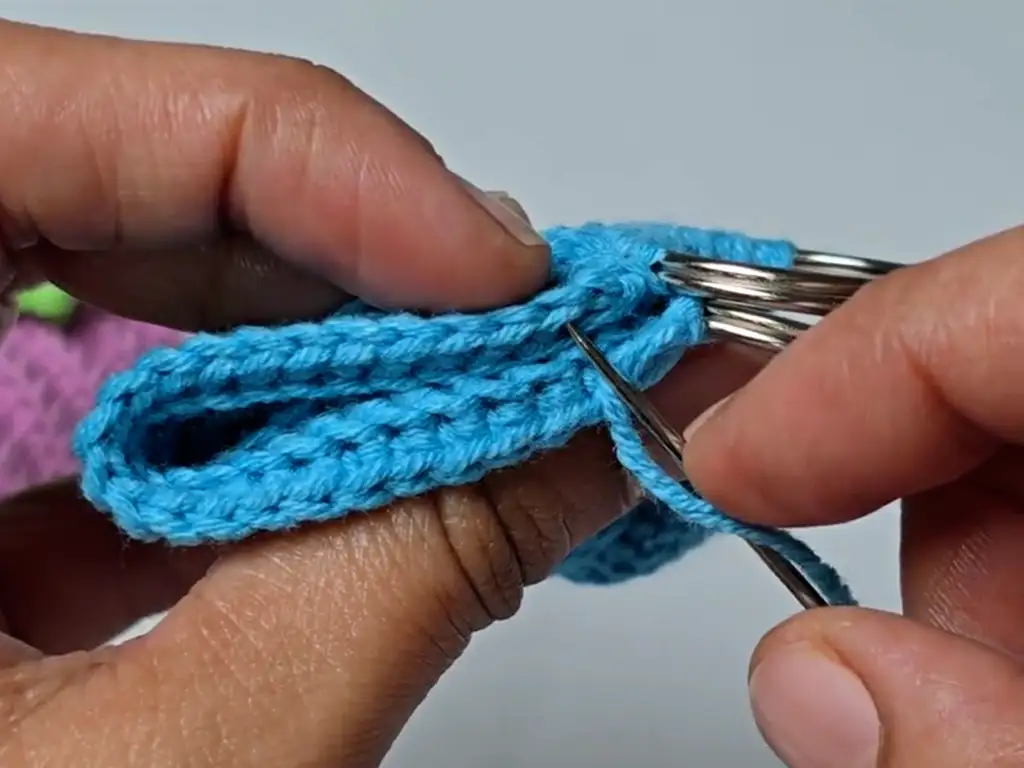
6: Fold and Stitch the Bag
- Fold the bag horizontally (or vertically — your choice).
- Use the yarn tail and a tapestry needle to sew both sides of the bag closed.
- You can leave a small gap for stuffing.
Step 7: Add Stuffing to the Crochet Bag Keychain
- If you want a puffy look, gently stuff the bag with fiberfill.
- Don’t overfill — just enough to give it a soft shape.
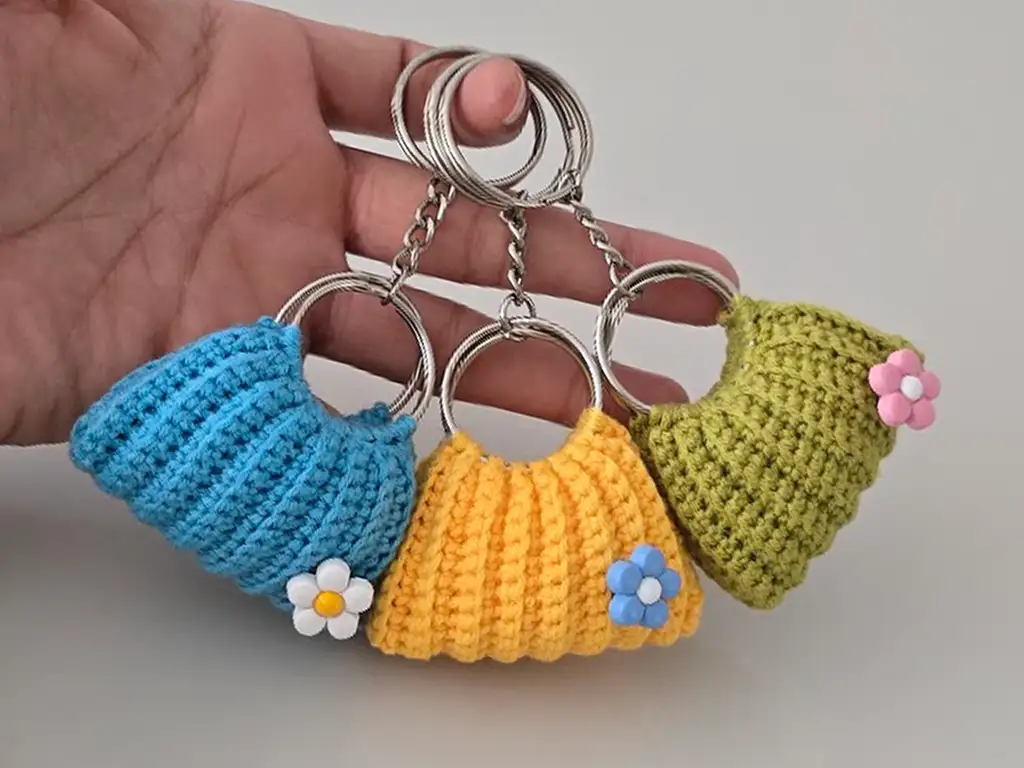
Step 8: Decorate and Assemble the Crochet Bag Keychain
- Sew a button, charm, or flower on the bottom-right corner.
- Use the third keychain clip to attach the handles.
- Secure it through the top of both sides to make it functional.
Final Touches for Your Crochet Bag Keychain Gift
Once your bag is complete, it’s time to personalize it!
• Decorating With Buttons or Charms
- Add small daisies, hearts, or initials.
- You can also use safety eyes or beads for a unique touch.
• Best Ways to Package and Gift It
- Place your crochet keychain in a small gift box or organza bag.
- Add a handwritten tag to personalize your present.
Crochet Bag Keychain – Frequently Asked Questions
• Can I Use Different Yarn Types?
Yes! You can use acrylic or blended yarns — just adjust the hook size accordingly. Cotton gives the best shape and structure.
• How Long Does It Take to Crochet One Keychain?
It usually takes 30–45 minutes for beginners, even faster with practice!
• Is This Project Suitable for Kids or Beginners?
Absolutely! With basic stitches only, it’s perfect for all skill levels.
Wrapping It Up – Share, Subscribe & Download the Pattern!
Creating your own crochet bag keychain is not only easy but incredibly fun and rewarding.
You’ve just learned how to craft an adorable mini bag that’s perfect as a keychain, bag charm, or even a small gift!
Did you enjoy this tutorial?
We’d love to hear from you — tell us what color combinations you tried or how you personalized your bag!
Leave a comment below or share your creations with us on social media:
- Instagram: @tubacrochet_
- TikTok: @tubacrochet
- Facebook: @tubacrochet
Download the PDF Pattern
Want to keep this pattern handy or print it out for your crochet binder?
The free PDF pattern will be available here soon, complete with diagrams and stitch guides.
https://crochetstrends.com/wp-content/uploads/2025/05/Crochet-Bag-Keychain.pdf
Other Crochet Projects You’ll Love
- Easy Crochet Rose Coaster Pattern – Perfect for springtime decor!
- Mini Tulip Crochet Bouquet – A sweet, floral DIY gift idea.
- Crochet Hat Keychain – Another adorable accessory for your bag or keys!
- Rose Placemat Tutorial – Elegant, layered design for home or gifts!